Hosting a static website with CloudFront and Amazon S3
Note
This post may be partially machine- or AI-translated. If there is any discrepancy, the Korean version takes precedence.
Note
This post might be outdated and some links might not be available.
This post explains how to host a static website with SSL (HTTPS) using Amazon CloudFront and Amazon Simple Storage Service (Amazon S3).
This blog (blog.buffashe.com) is also served in a serverless environment using CloudFront and Amazon S3.
This guide assumes you already have a domain (hosted zone) registered in Amazon Route 53 or another DNS service.
Services used
Amazon CloudFront
Global distribution and HTTPS support
Amazon Route 53
Connects the CloudFront domain name to the website domain
Amazon S3
Acts as the website Origin (web server and file system)
AWS Certificate Manager
Issues a certificate for the website domain
Prepare a web page
Prepare the files to host on the website.
I will use a simple page.
index.html
<!DOCTYPE html>
<html>
    <head>
        <meta charset="utf-8">
        <title>Test page</title>
    </head>
    <body>
        <p>This is a test page.</p>
    </body>
</html>
Create and prepare an Amazon S3 bucket
Create an Amazon S3 bucket, upload the files to host, enable static website hosting, and add a bucket policy.
Create a bucket
- Sign in to the AWS Management Console and open the Amazon S3 console.
https://console.aws.amazon.com/s3/ - Click Create bucket.
- Enter a bucket name. (
buffashecom-staticweb, for example)
When connecting an Amazon S3 bucket to CloudFront, use a name different from the domain name. - Select a Region.
Choose a Region close to your main users.
(This reduces latency between CloudFront and the Origin on cache misses.)
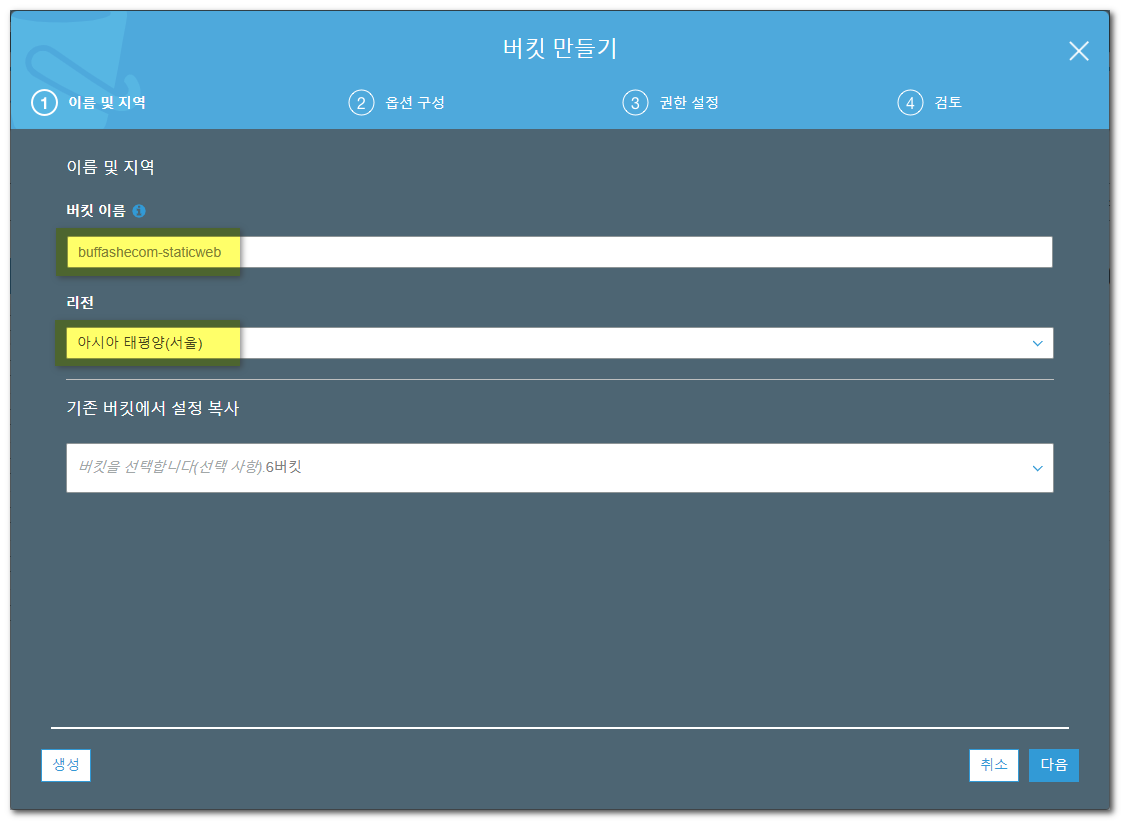
- Click Create.
Upload the files to host
Upload the files to host to the S3 bucket you created.
- Click Upload.
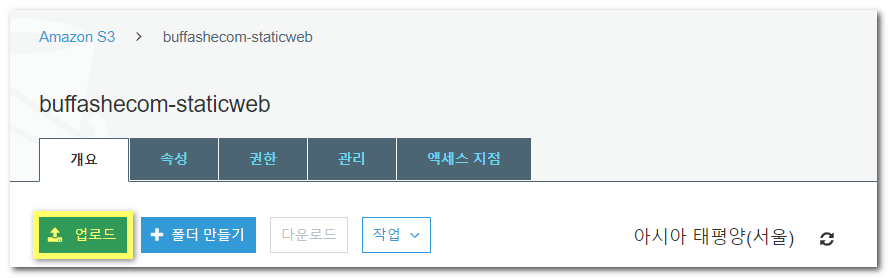
- Add the file created earlier.
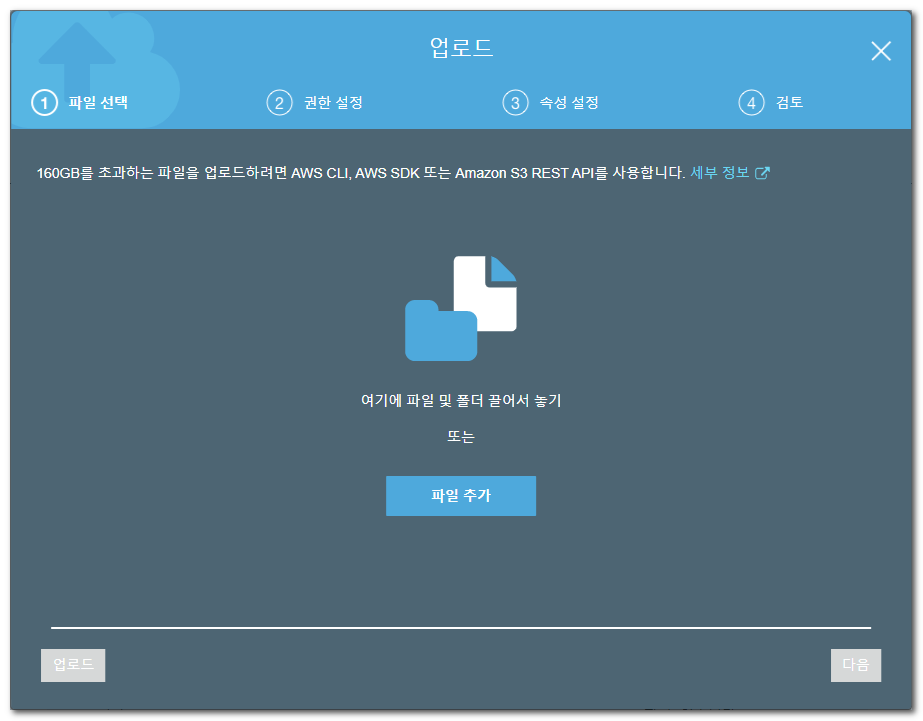
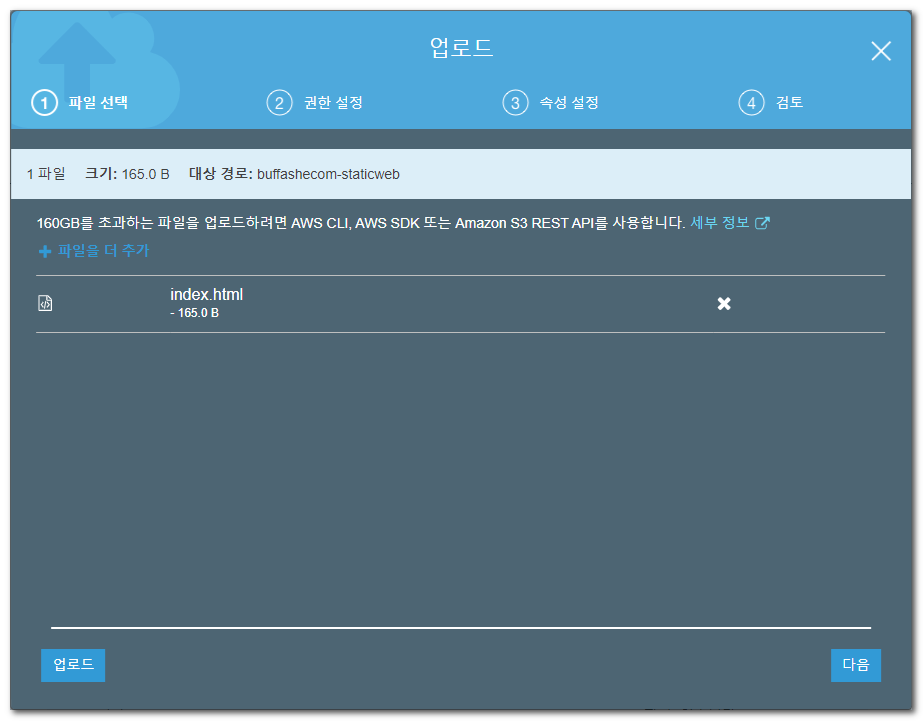
- Click Upload.
Enable static website hosting
Enable static website hosting for the bucket.
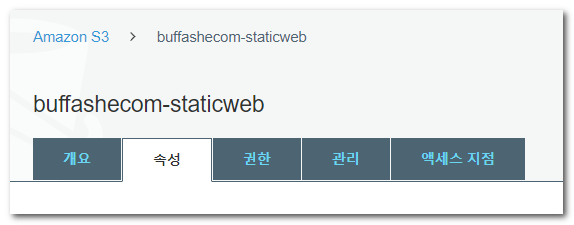
- Open the bucket’s Properties tab.
- Enable Static website hosting, enter
index.htmlfor Index document, then save.

Add a bucket policy
Configure a bucket policy so anyone can access the bucket.
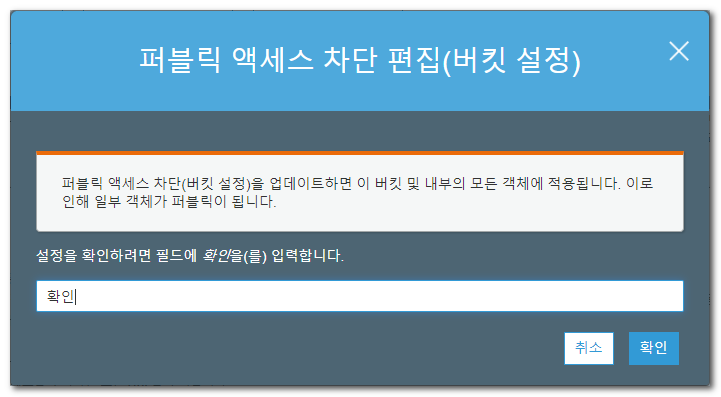
- Open the bucket’s Permissions -> Block Public Access tab.
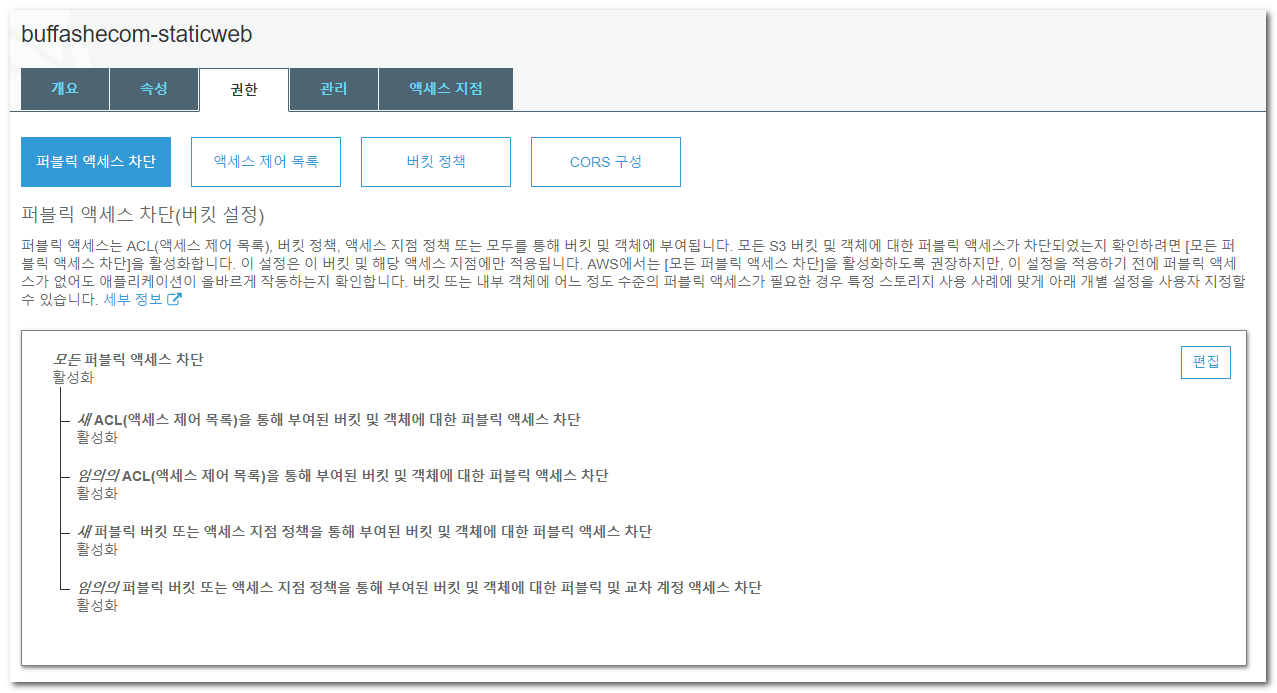
- Click Edit, clear Block all public access, and save.
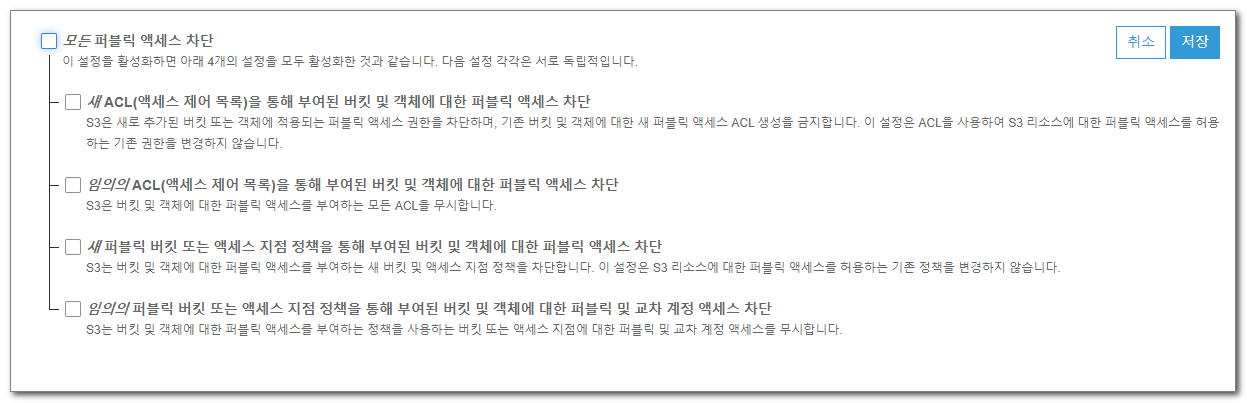
- Enter
confirmin the confirmation dialog, then click Confirm.
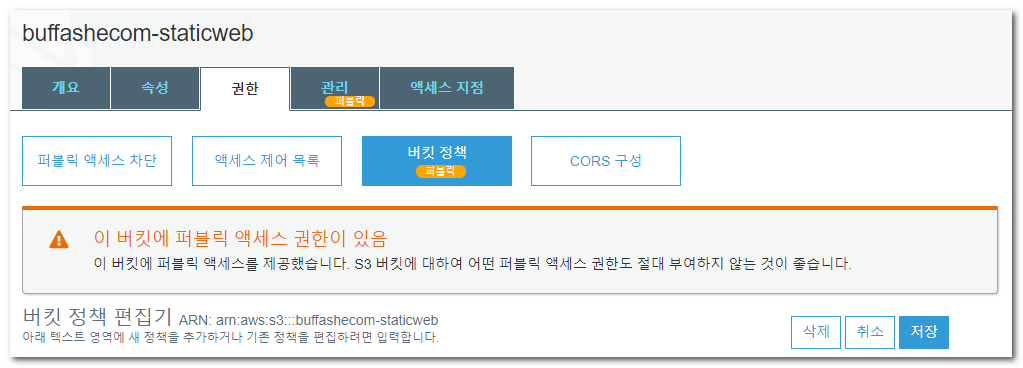
- Open the bucket’s Permissions -> Bucket policy tab.

- Add a policy so anyone on the internet can access the bucket.
Allows3:GetObjectands3:GetObjectVersionfor everyone.
Enter the following and save.
Replace[bucket ARN]with the ARN shown in the bucket policy editor. (arn:aws:s3:::buffashecom-staticweb, for example)
{
    "Version": "2012-10-17",
    "Statement": [
        {
            "Effect": "Allow",
            "Principal": "*",
            "Action": [
                "s3:GetObject",
                "s3:GetObjectVersion"
            ],
            "Resource": "[bucket ARN]/*"
        }
    ]
}- You can confirm that public access has been granted to the bucket.
Request an SSL certificate
Use AWS Certificate Manager to request an SSL certificate in the us-east-1 (US East, N. Virginia) Region.
A Custom SSL Certificate used by CloudFront must be created in us-east-1.
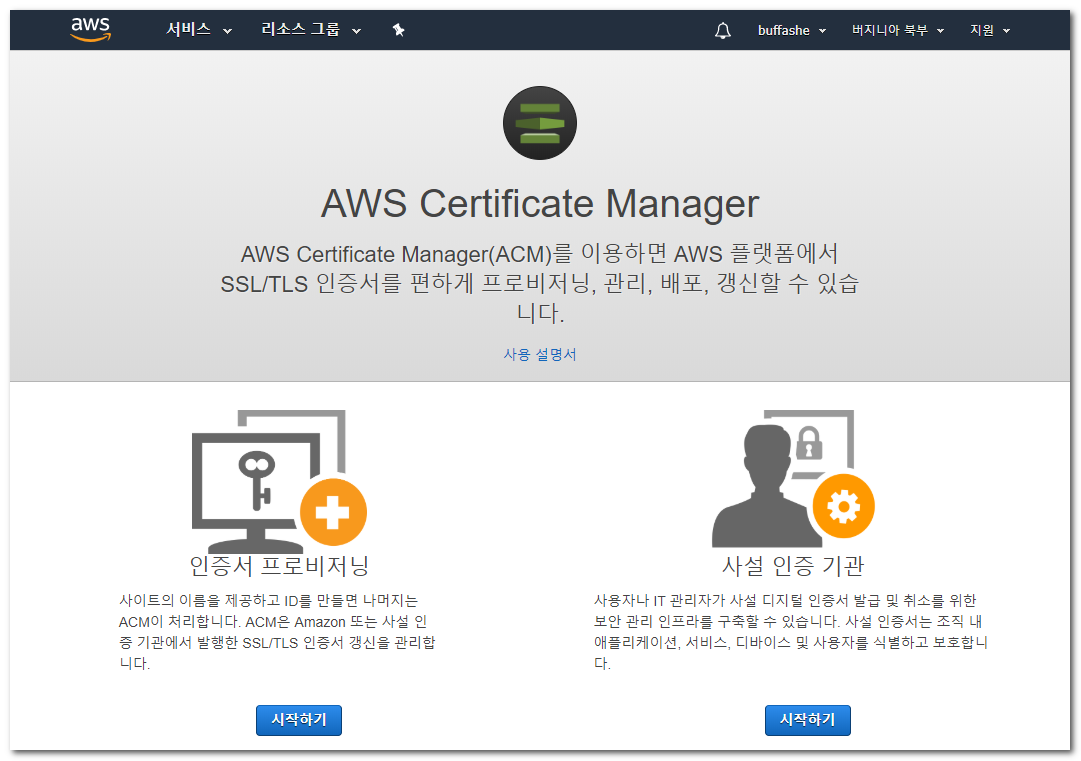
- Open AWS Certificate Manager in the
us-east-1Region and click Provision certificates.
The page below is shown only to users who are opening ACM for the first time and do not have certificates yet. If you already have a certificate, click Request a certificate.
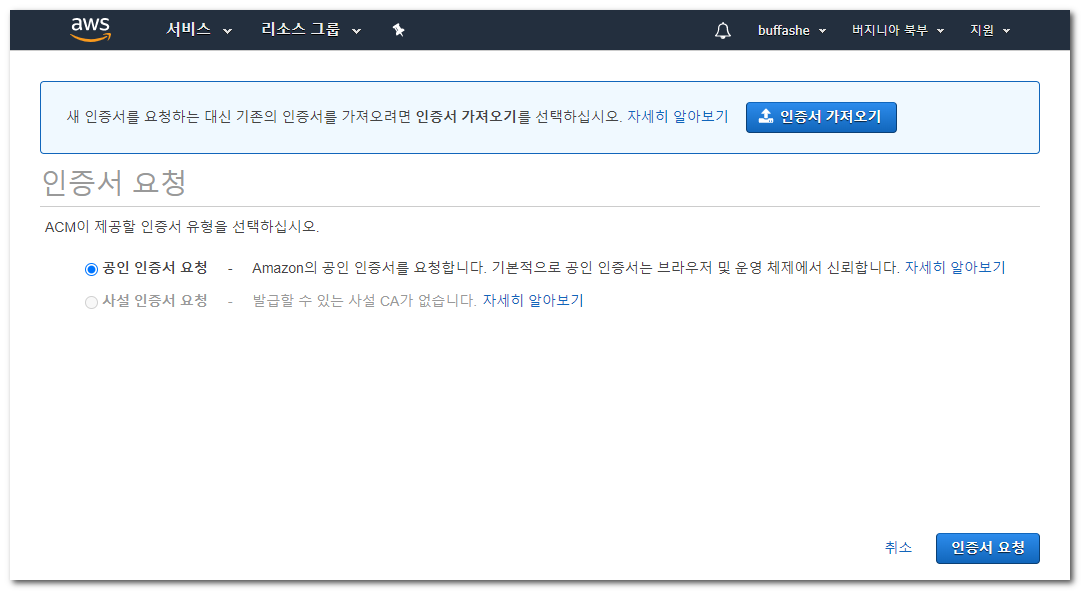
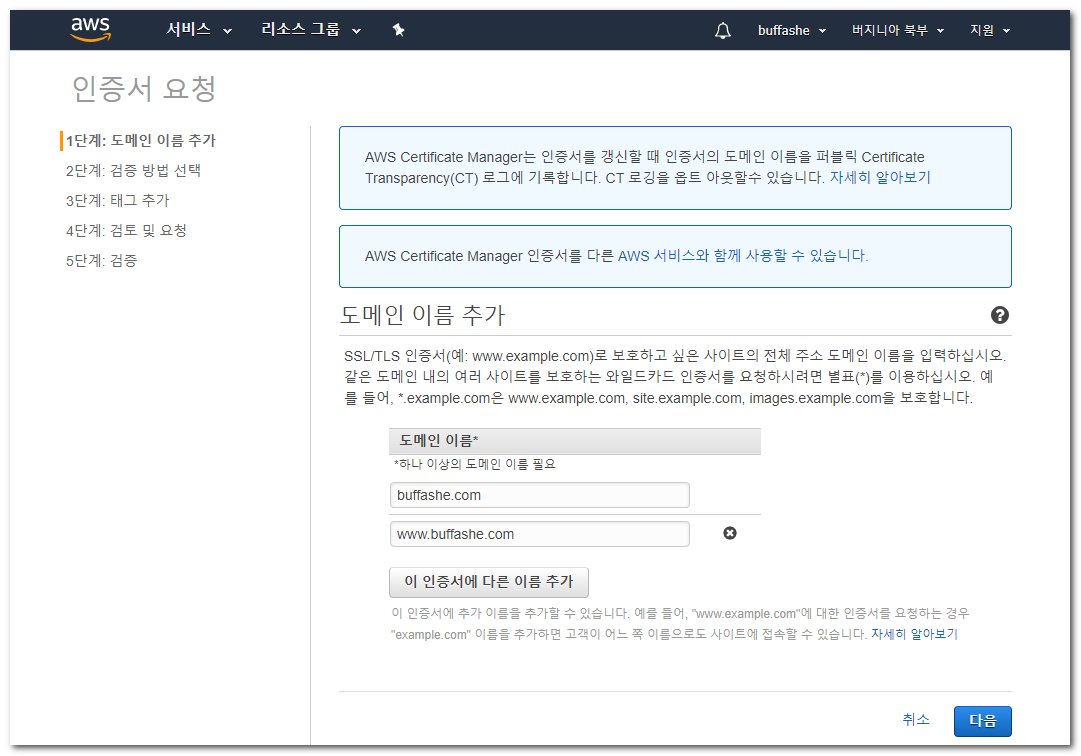
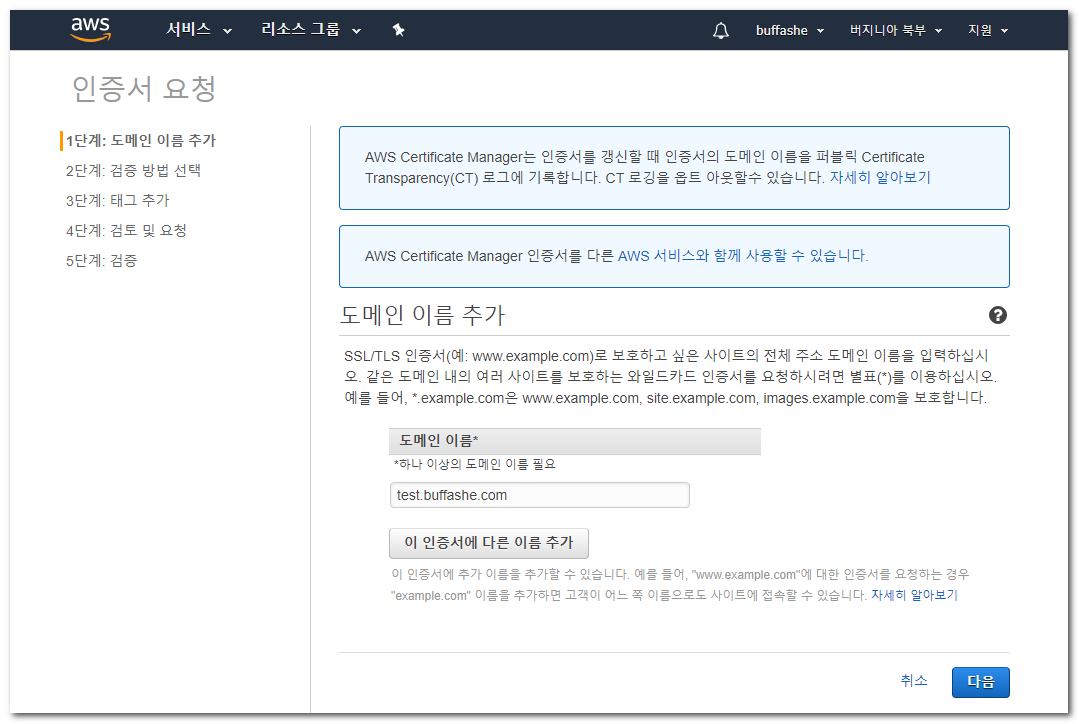
- Select Request a public certificate, then click Request a certificate.
Enter the domain names to issue the certificate for.
Apex domain -buffashe.com
Subdomain -blog.buffashe.com
Wildcard -*.buffashe.com(all subdomains ofbuffashe.com)
All of these are valid choices.After entering them, click Next.
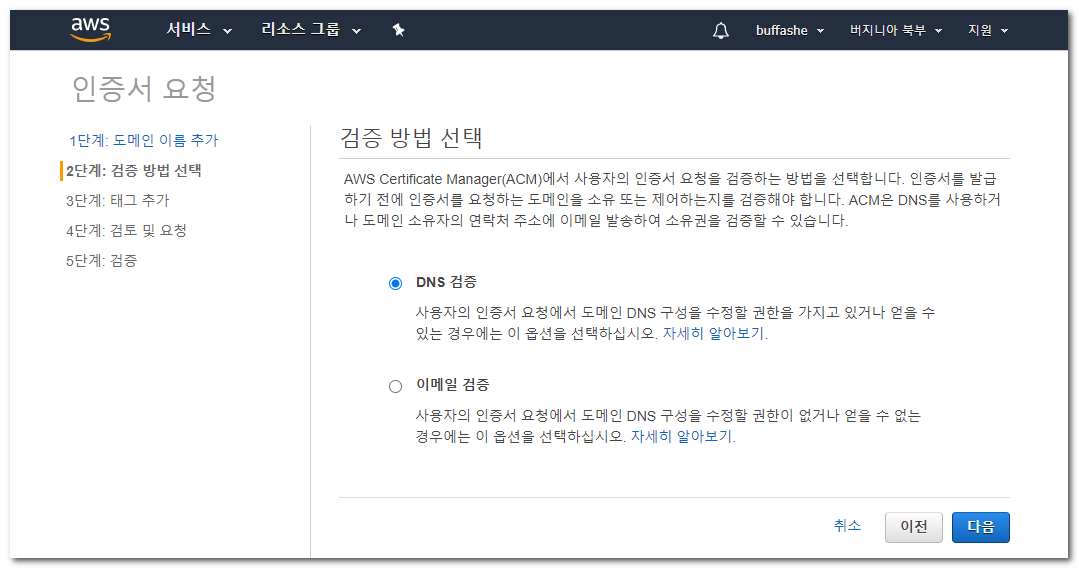
- Select a validation method.
DNS validation is convenient because the certificate is renewed automatically as long as the CNAME record added to the DNS service remains in place.
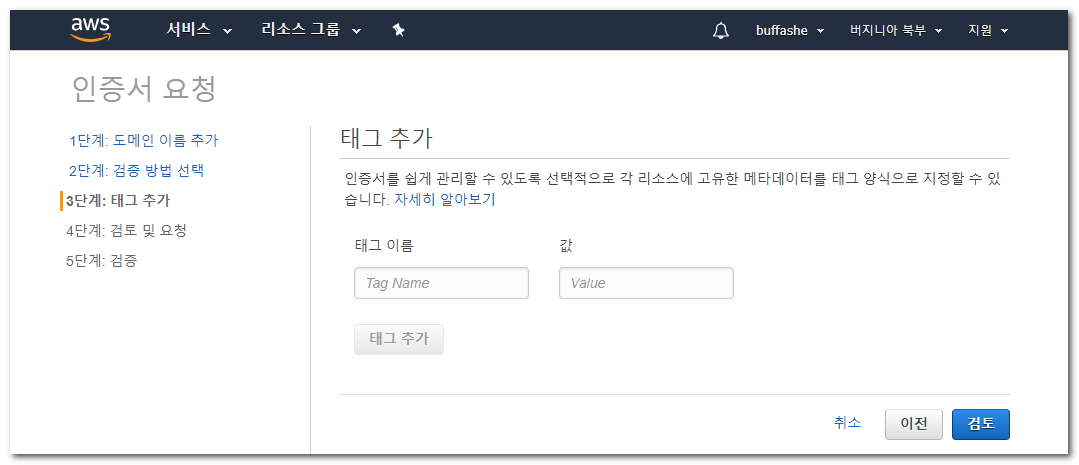
- I did not add Tags.
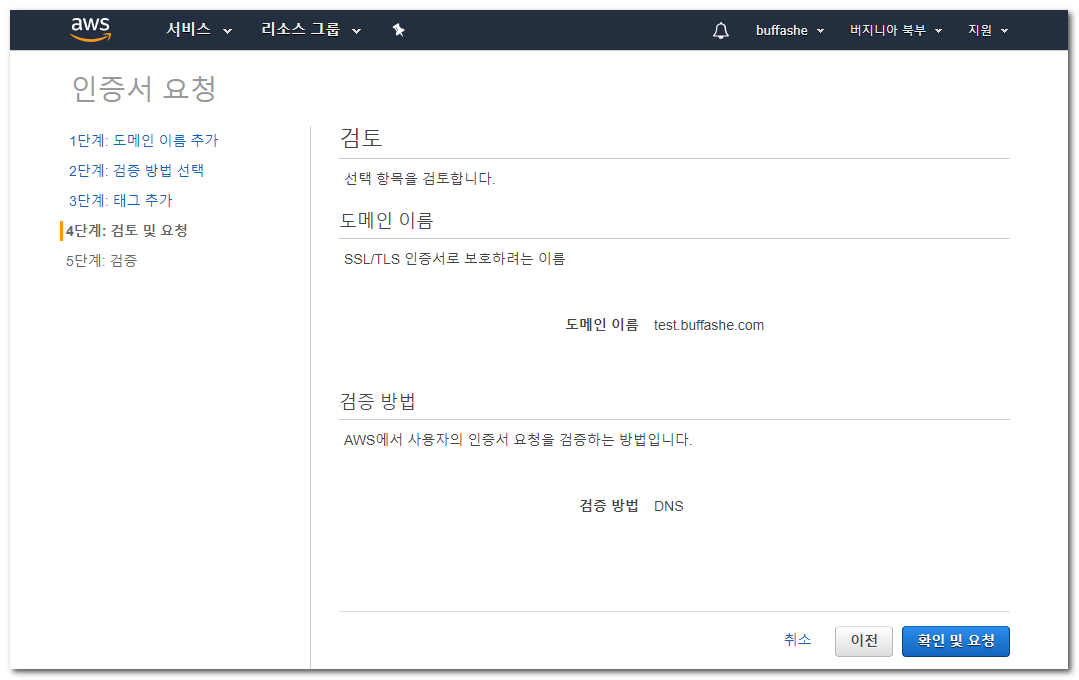
- Review what you entered, then click Review and request.
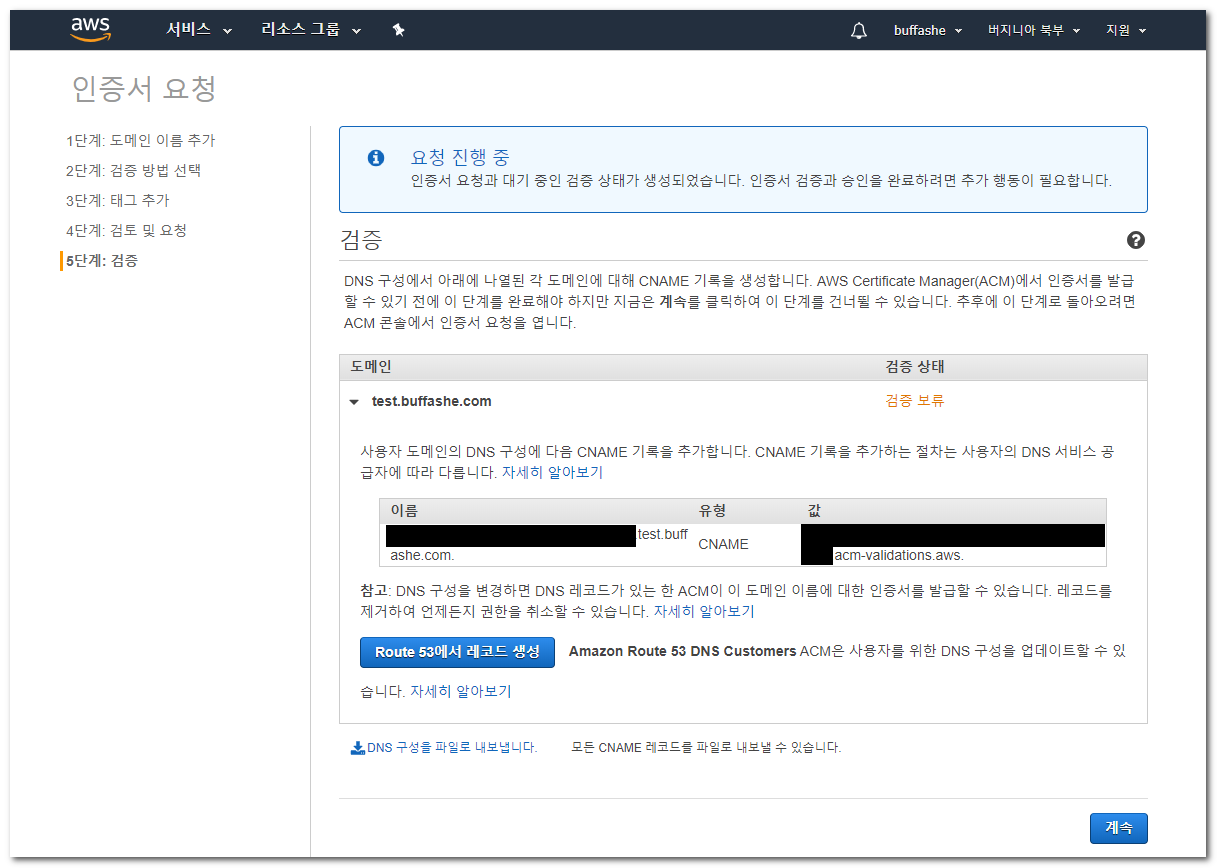
- CNAME records for certificate validation are displayed, one for each domain name.
Route 53 users can click Create record in Route 53 to add them at once.
Users of other DNS services can add them manually.
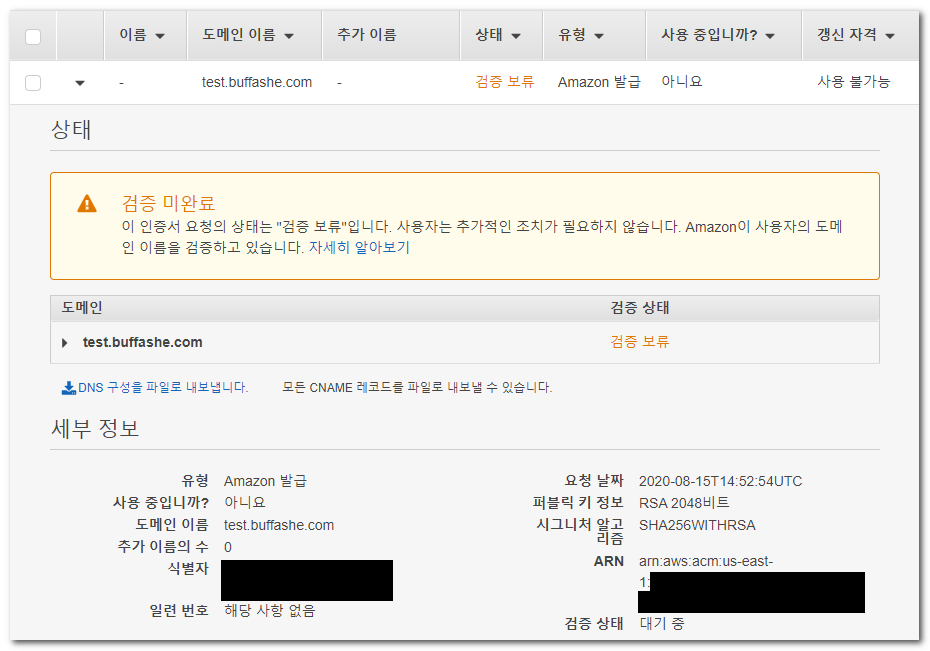
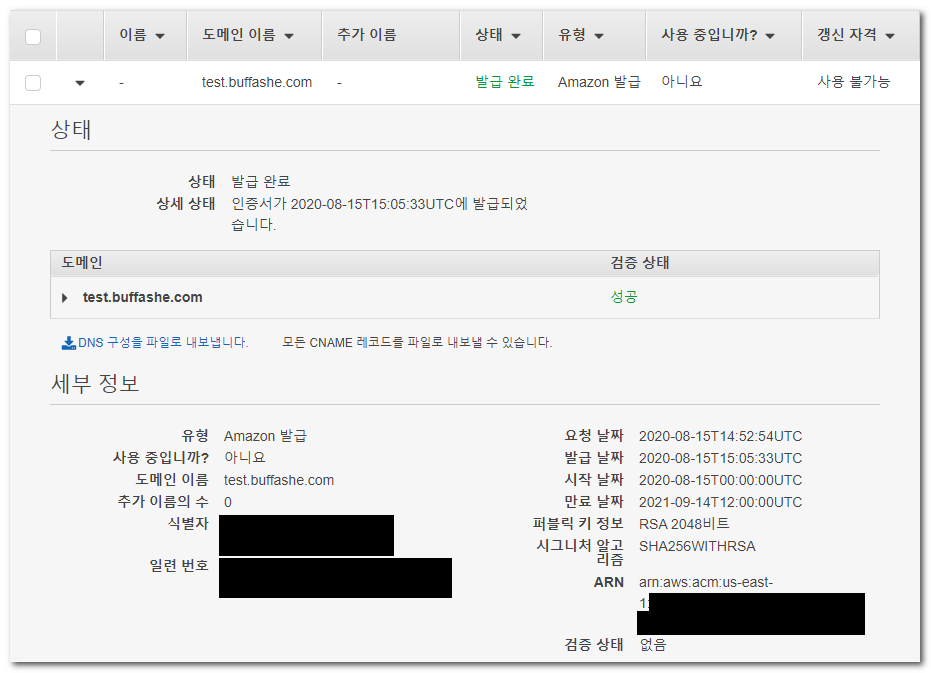
- Check whether the certificate status changed from Pending validation to Issued.
This can take some time, so you can proceed to the next step.
Create a CloudFront web distribution
CloudFront is a CDN provided by AWS.
What is Amazon CloudFront?
- Open the CloudFront console and click Create Distribution.
https://console.aws.amazon.com/cloudfront/
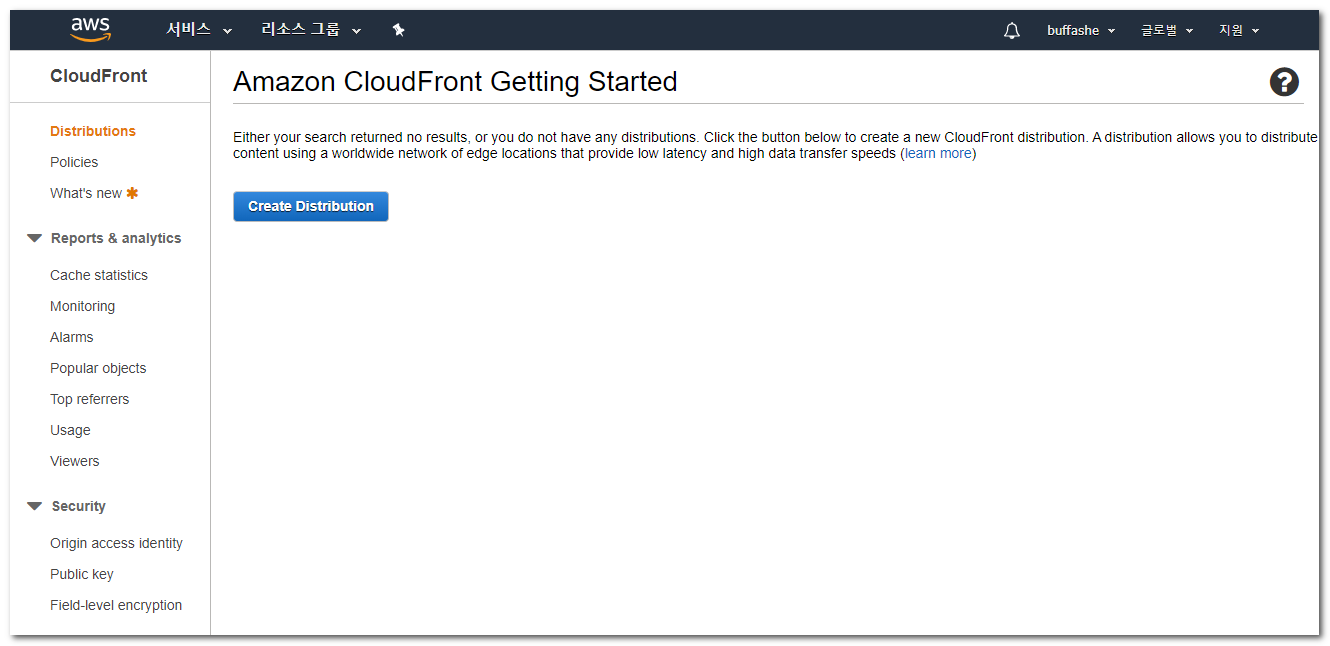
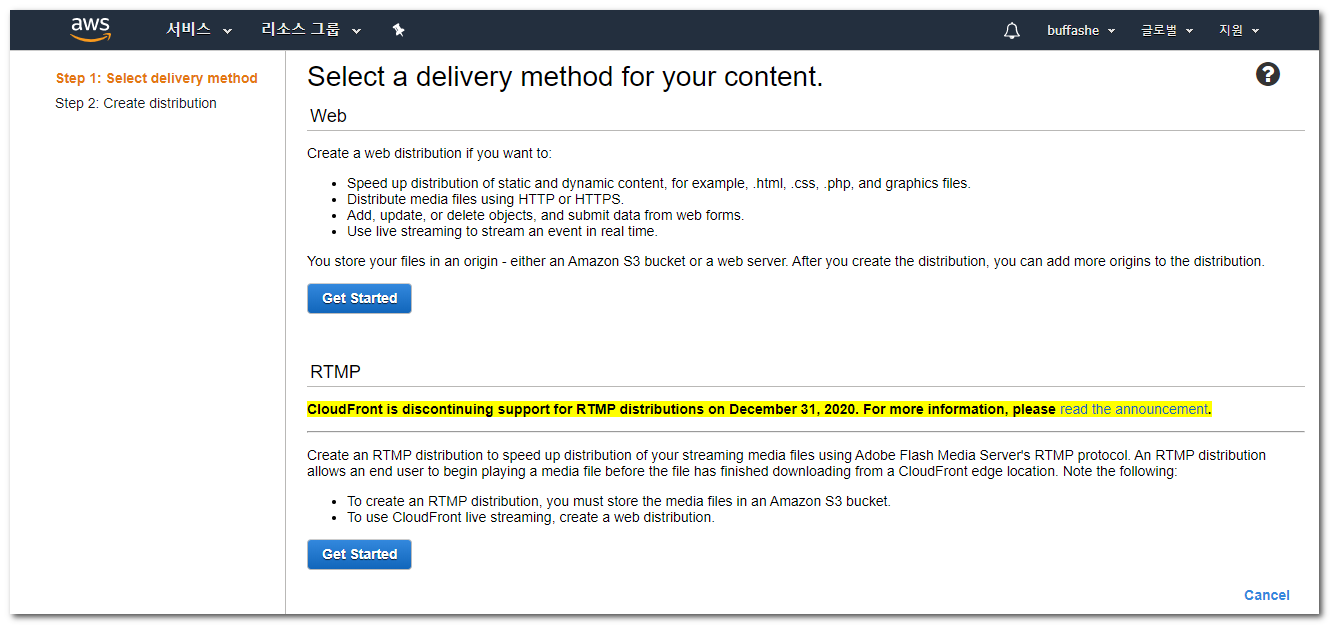
- Select a web distribution by clicking Get Started.
Origin and Default Cache Behavior settings
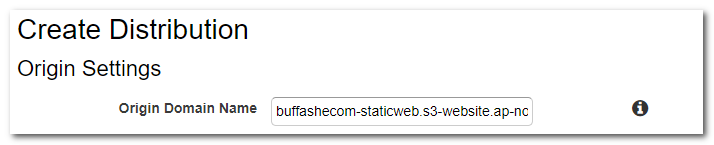
- When you click the Origin Domain Name input, possible options are displayed. Instead of choosing one from the list, enter the static website hosting endpoint shown in Enable static website hosting without
http://.
Choosing from the list is fine for normal static website hosting, but when hosting an SPA (Single Page Application), you should enter the endpoint directly.
When I hosted WordPress converted to a static website, entering the static website hosting endpoint directly was also required for it to work correctly.

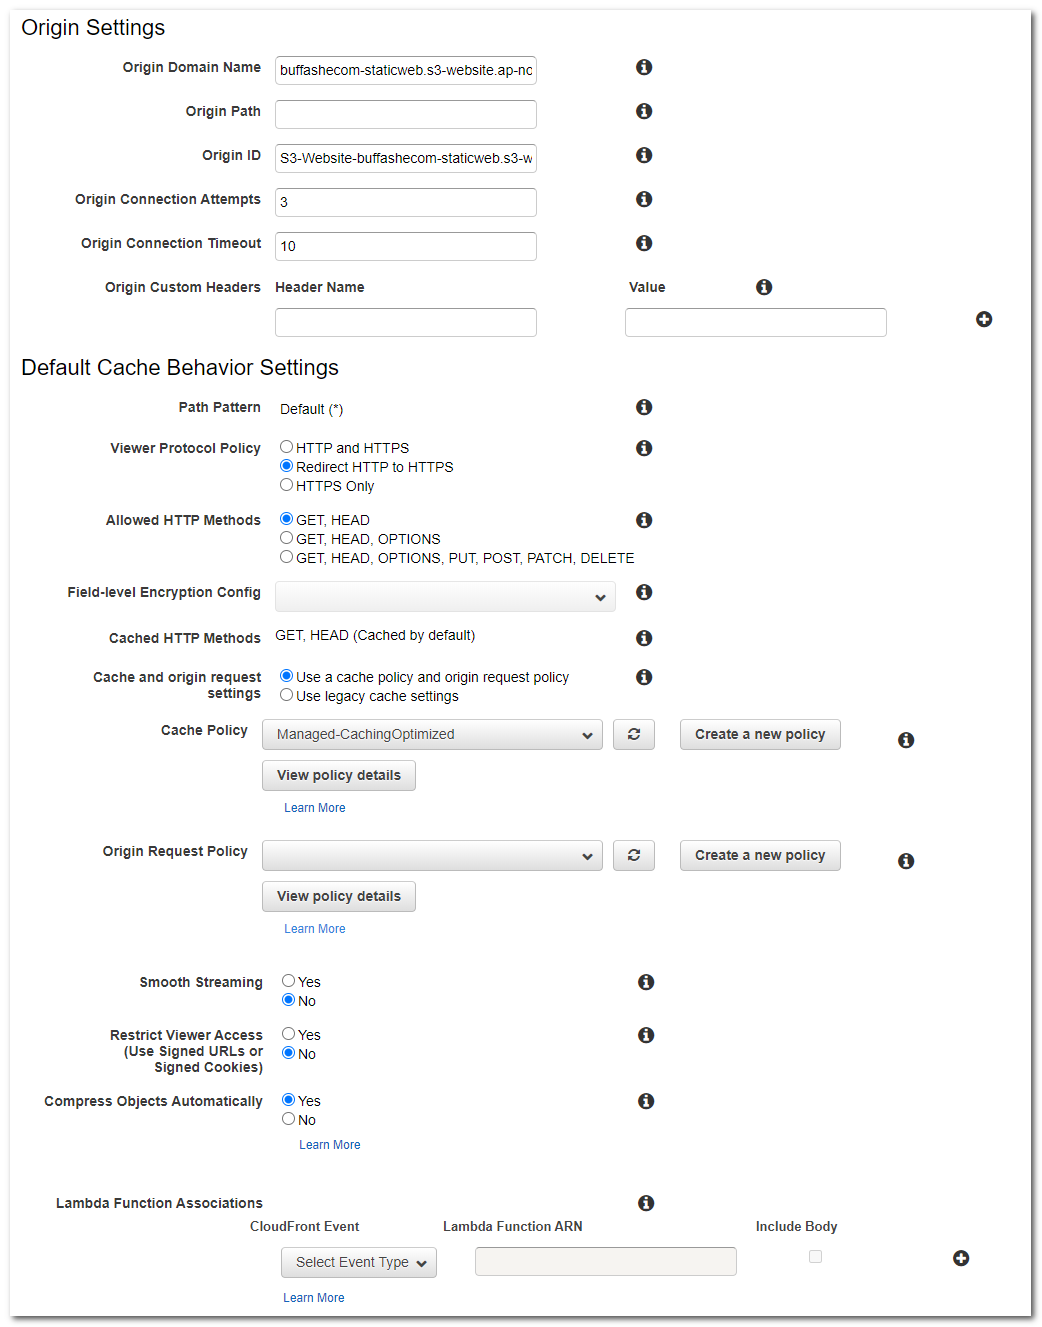
- Change the remaining Origin and Default Cache Behavior settings as needed.
Use the settings below as examples.
I configured: HTTP to HTTPS redirect
Default cache policy
Automatic gzip compression
Distribution settings
- Configure Alternate Domain Names (CNAMEs), Custom SSL Certificate, and Default Root Object.
I used: The domain names users will access, entered in Request an SSL certificate
The issued SSL certificateindex.html
Change the remaining settings as needed.
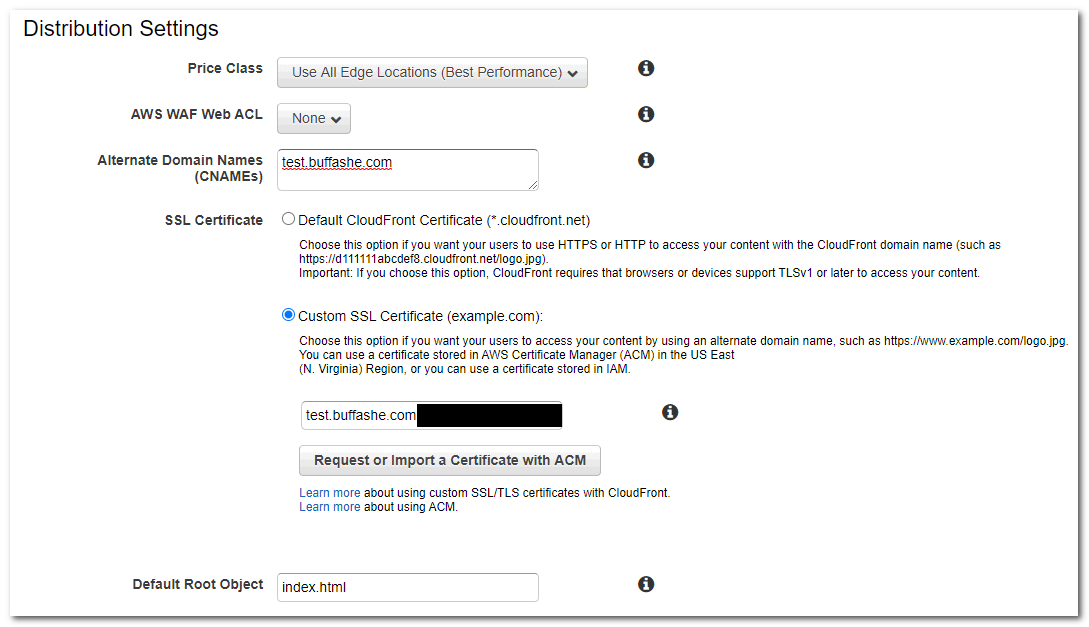
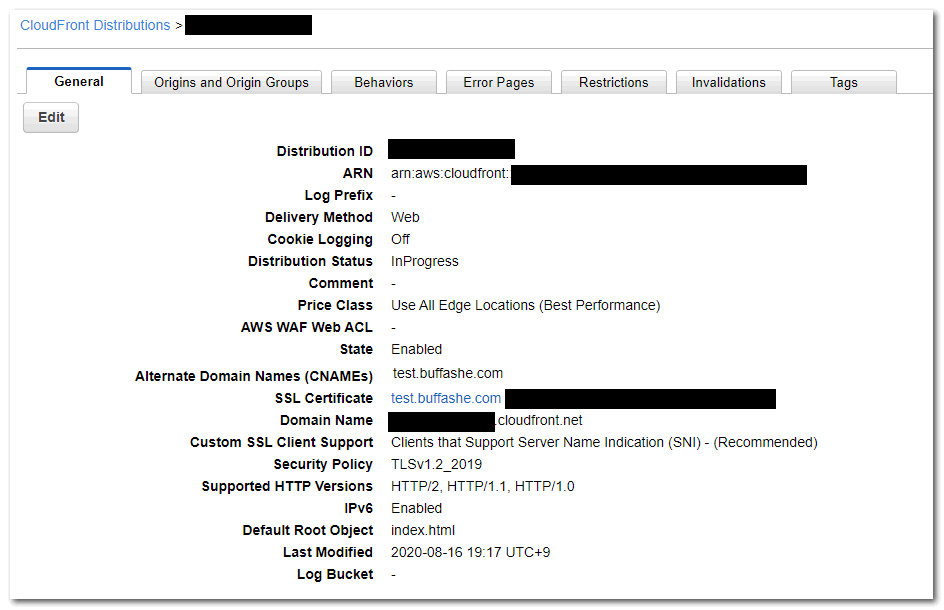
Click Create Distribution to finish.
You can confirm that the Distribution Status is InProgress.
It changes to Deployed after deployment to the edge locations completes.
This takes some time, so you can proceed to the next step.
Configure Route 53
Connect the CloudFront distribution to the domain you already own.
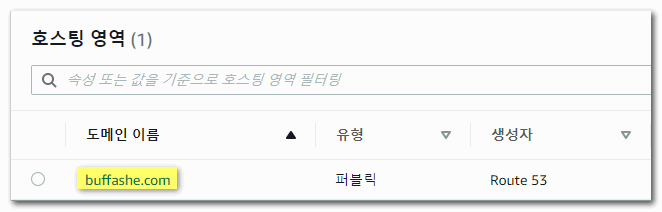
- Open the Route 53 console and click the domain to connect under Hosted zones.
https://console.aws.amazon.com/route53/
- Click Create record.
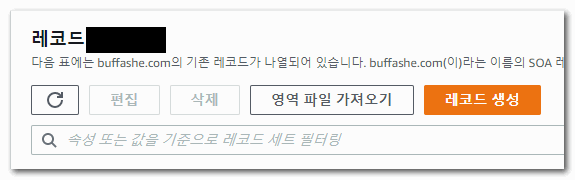
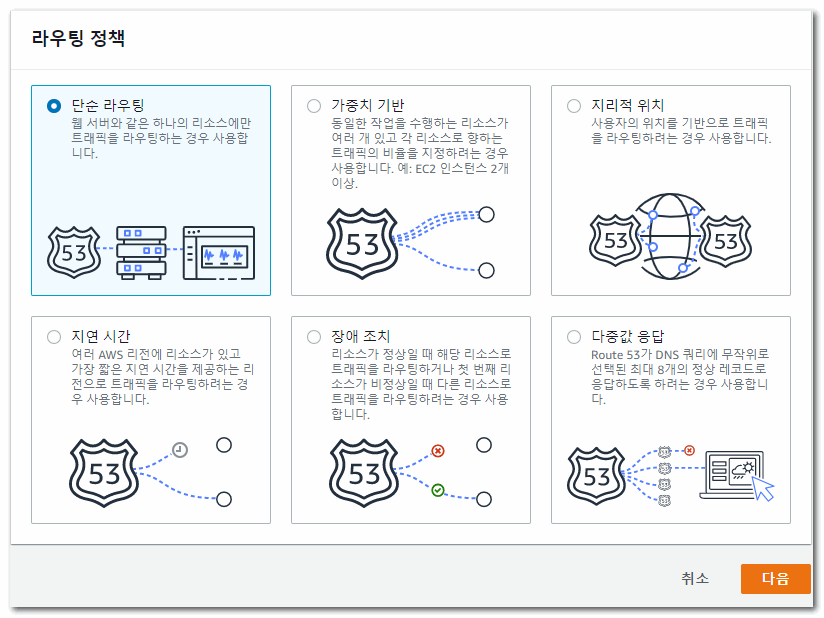
- Select Simple routing, then click Next.
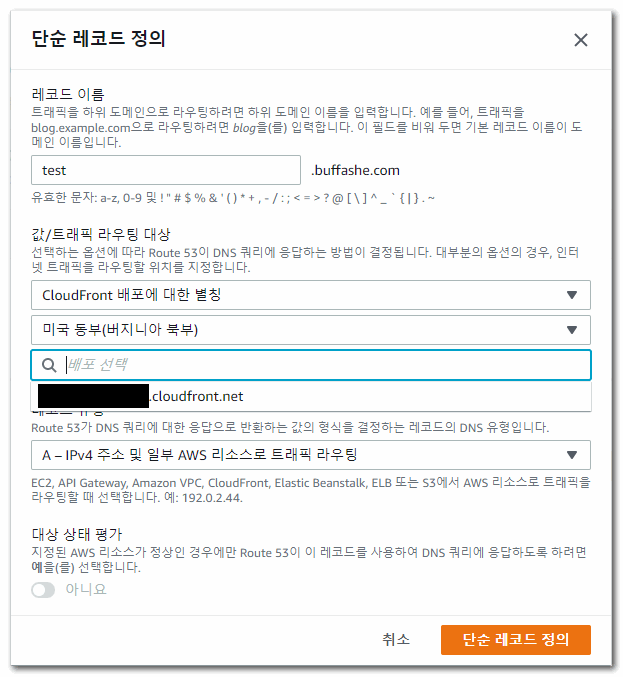
- Click Define simple record.
Enter the domain to use in Record name, and set Value/Route traffic to toAlias to CloudFront distribution.
Click the Choose distribution input to display available distribution domain names.
Select the value that matches the Distribution Domain Name created in Create a CloudFront web distribution.
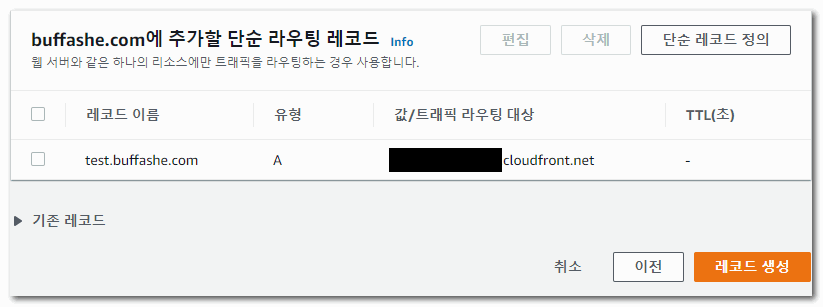
Click Define simple record to finish.
- Review the record settings and click Create records.
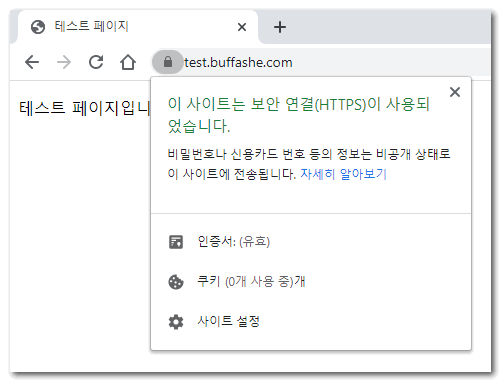
Check access
Check whether CloudFront and the domain are connected correctly.
- You can confirm that the site is accessed over HTTPS and that a valid certificate is applied.