Installing PiVPN (OpenVPN)
Note
This post may be partially machine- or AI-translated. If there is any discrepancy, the Korean version takes precedence.
Note
This post might be outdated and some links might not be available.
PiVPN was created to make it easy to install WireGuard and OpenVPN on a Raspberry Pi.
Because it can also be installed on other Linux distributions, I will install it on Ubuntu 18.04.
PIVPN: Simplest way to setup a VPN
Install PiVPN
$ curl -L https://install.pivpn.io | bash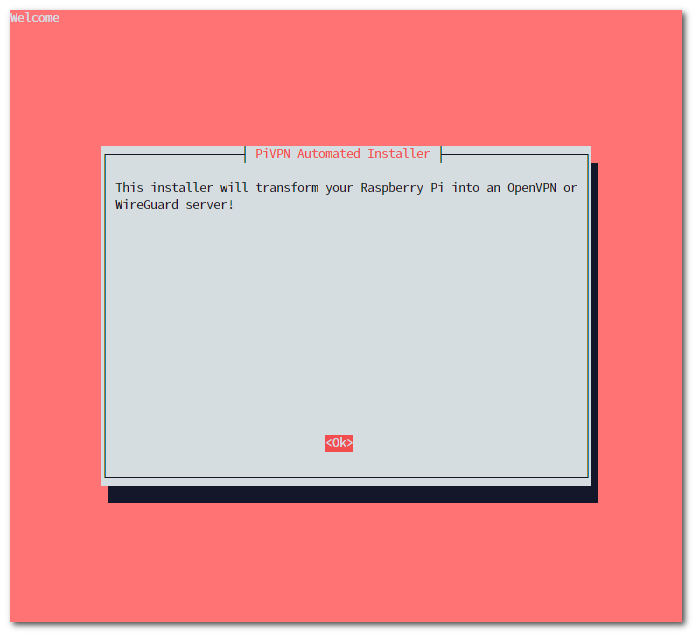
The PiVPN installer starts. Press Enter to confirm.
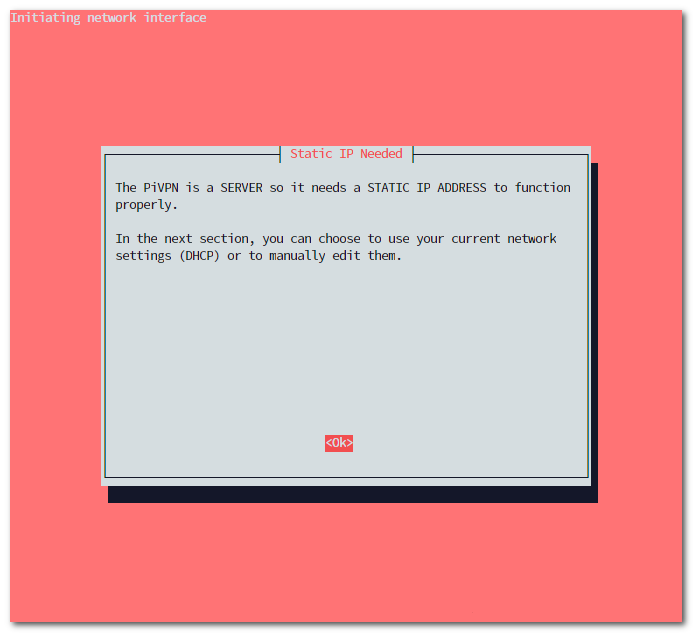
This message recommends using a static IP.

Because I am not using Raspbian, it says static IP setup will be skipped.
If you use Amazon EC2, Lightsail, or a similar service, it is better to allocate a static IP in advance.
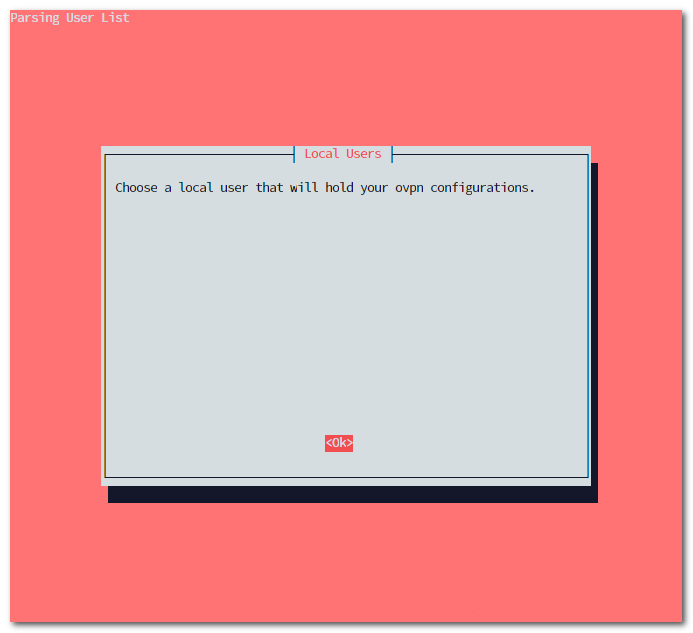
Choose the user that will store the ovpn files.

Select the user you want with Space. (* is displayed)
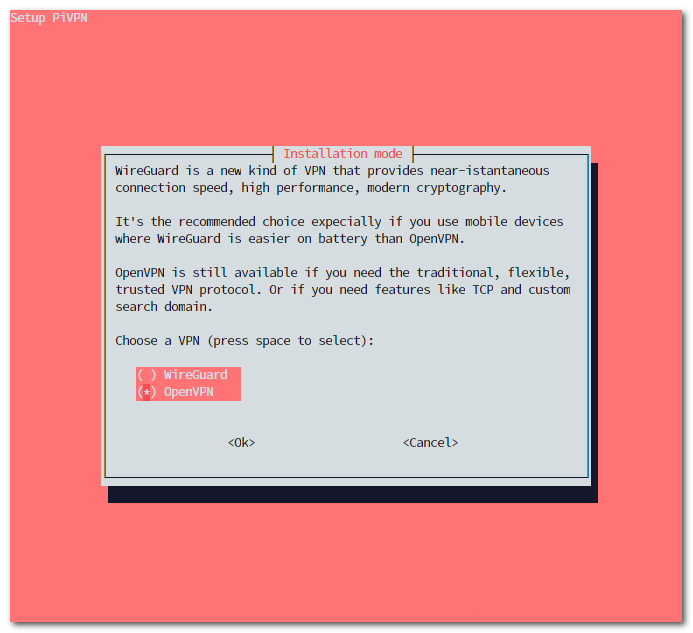
Select OpenVPN.

Select the protocol to use.

Use OpenVPN’s default UDP port, 1194.
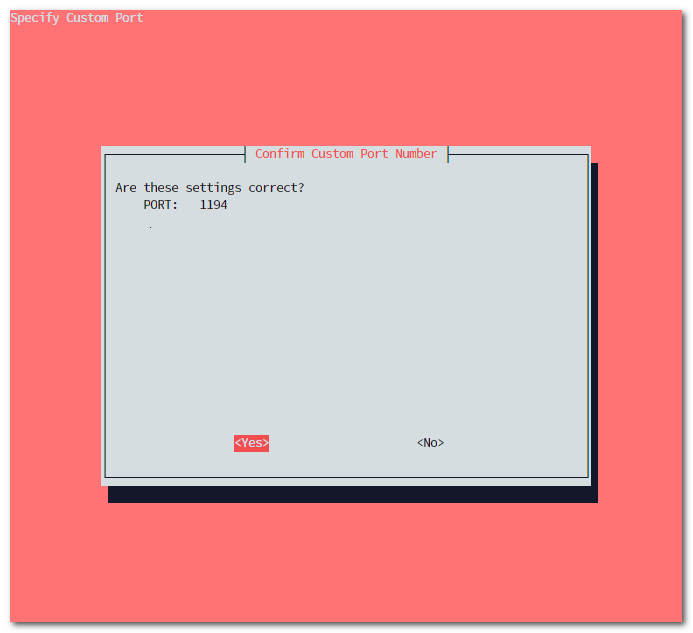
Confirm that the settings are correct.
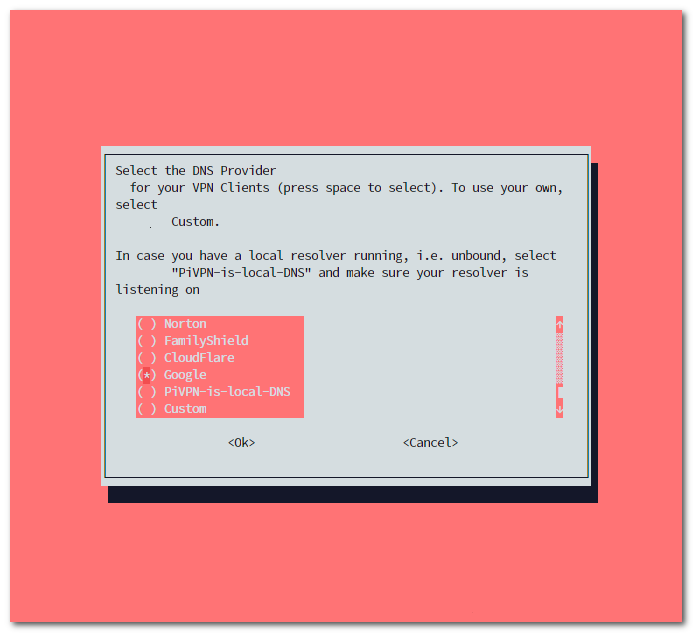
Select the DNS provider to use.
I selected Google DNS. (8.8.8.8, 8.8.4.4)
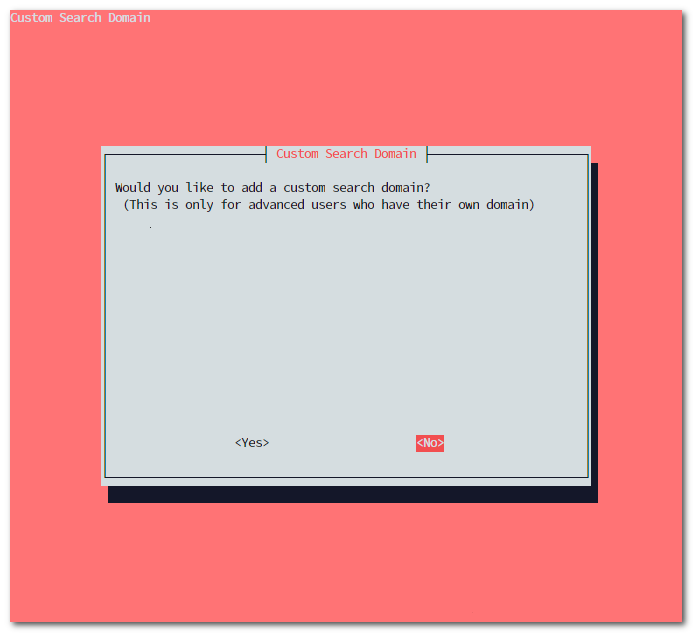
Do not add a search domain.
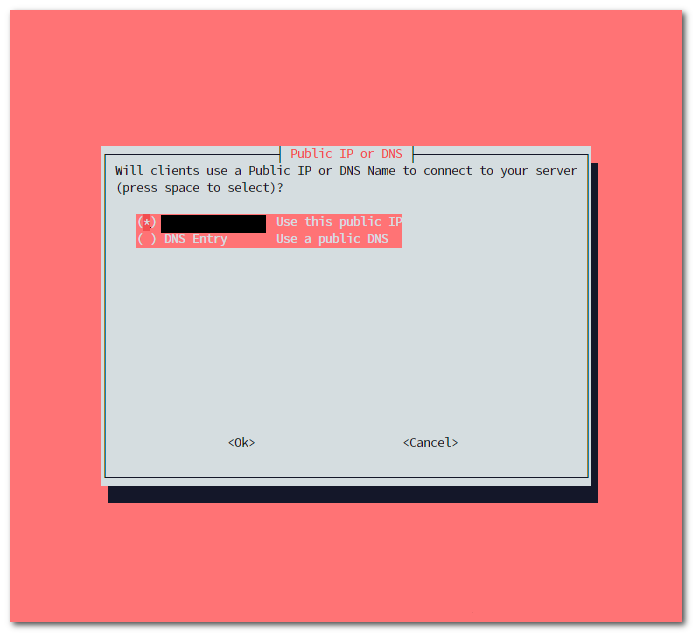
Select the IP address or DNS name to be written into the ovpn file. It automatically fetches and displays the public IP.
If you own a domain, choose the DNS Entry option. (vpn.buffashe.com, for example)

It asks whether to use the ECC option, which was added in OpenVPN 2.4.
When this option is enabled, the iPhone client cannot connect, so I will not use it.

Set the RSA certificate size. I used the default option, 2048 bits.
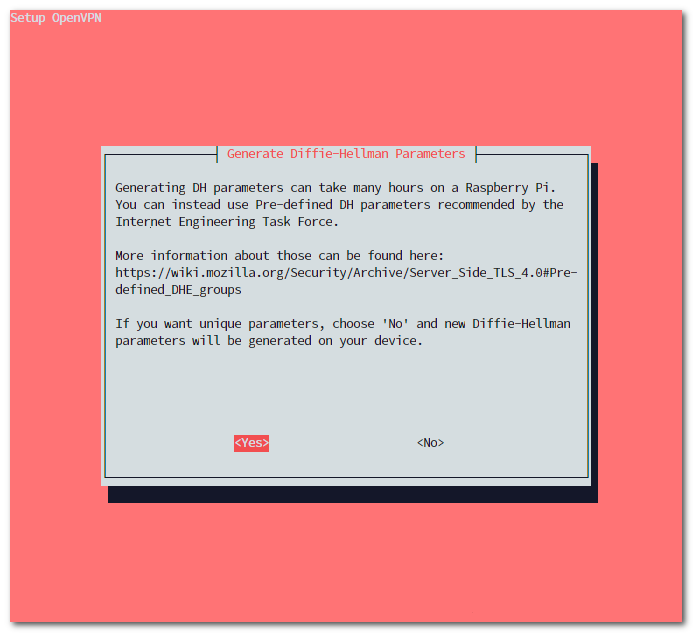
Choose whether to use a predefined DHE group. I will use it because it is the method recommended by the IETF.
Pre-defined DHE groups

It generates the server key and HMAC key.

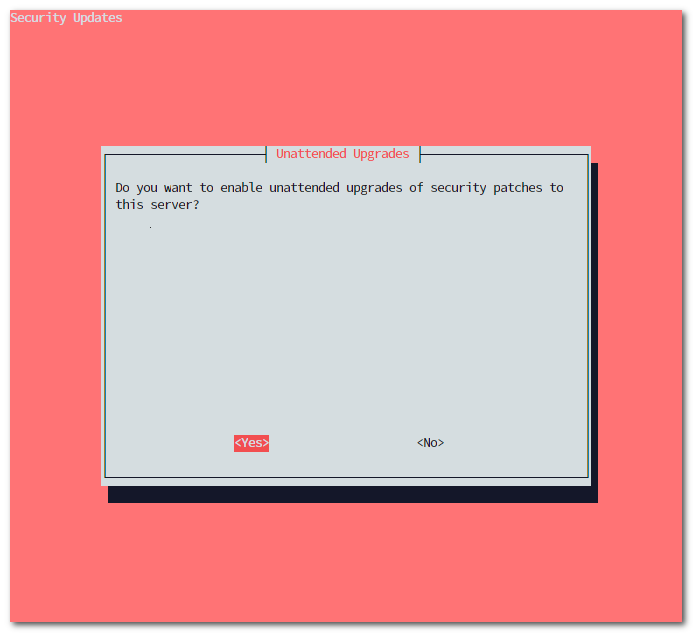
Enable unattended-upgrades. Security updates will be checked and installed automatically. Periodic server restarts are recommended.


Installation is complete. Select <Yes> to restart the server.
Basic PiVPN commands
$ pivpn
::: Control all PiVPN specific functions!
:::
::: Usage: pivpn <command> [option]
:::
::: Commands:
:::  -a, add [nopass]     Create a client ovpn profile, optional nopass
:::  -c, clients          List any connected clients to the server
:::  -d, debug            Start a debugging session if having trouble
:::  -l, list             List all valid and revoked certificates
:::  -r, revoke           Revoke a client ovpn profile
:::  -h, help             Show this help dialog
:::  -u, uninstall        Uninstall PiVPN from your system!
:::  -up, update          Updates PiVPN Scripts
:::  -bk, backup          Backup Openvpn and ovpns dir
-a: add a client; use the nopass option to connect without a password
-c: list currently connected clients
-d: start a debugging session
-l: list created client certificates (*.ovpn), including revoked certificates
-r: remove a client certificate, revoking access
-h: help page
-u: remove PiVPN
-up: update PiVPN
-bk: back up the OpenVPN and ovpns (client certificate) directoriesAdd a client
$ pivpn -a
Enter a Name for the Client:  buffashe-iPhone
How many days should the certificate last?  1080
Enter the password for the client:
Enter the password again to verify:
Enter the client name, certificate validity period, and password.
========================================================
Done! buffashe-iPhone.ovpn successfully created!
buffashe-iPhone.ovpn was copied to:
  /home/buffashe/ovpns
for easy transfer. Please use this profile only on one
device and create additional profiles for other devices.
========================================================
The ovpn file is created in /home/buffashe/ovpns.
~/ovpns$ ls -la
total 16
drwxr-x--- 2 buffashe buffashe 4096 Feb 12 15:20 .
drwxr-xr-x 6 buffashe buffashe 4096 Feb 12 15:14 ..
-rw-r----- 1 buffashe buffashe 5226 Feb 12 15:20 buffashe-iPhone.ovpn
Use the generated ovpn file to connect to the server.