PiVPN은 WireGuard와 OpenVPN을 Raspberry Pi에 간단히 설치하기 위해 만들어졌습니다.
다른 리눅스 배포판에도 설치 가능하기 때문에 우분투 18.04에 설치해 보겠습니다.
PIVPN: Simplest way to setup a VPN
이 글의 내용
PiVPN 설치
$ curl -L https://install.pivpn.io | bash
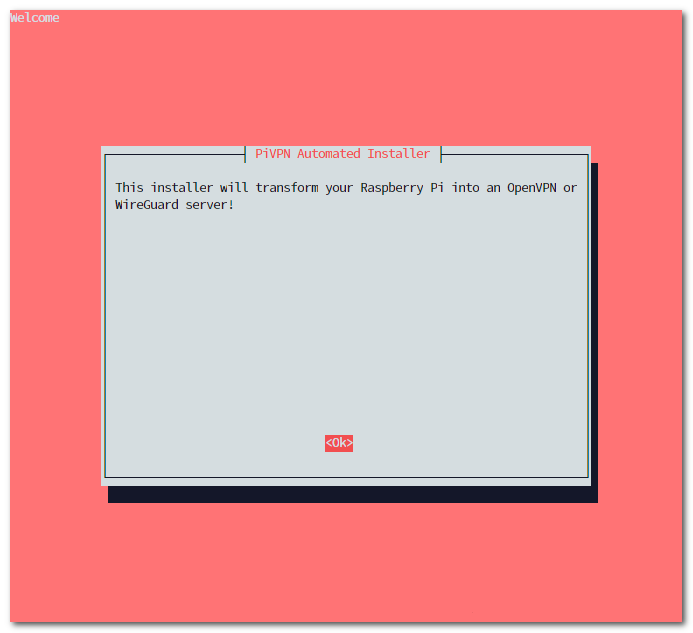
PiVPN 설치 관리자가 실행됩니다. Enter를 눌러 확인합니다.

고정 IP 사용을 권장한다는 메시지입니다.
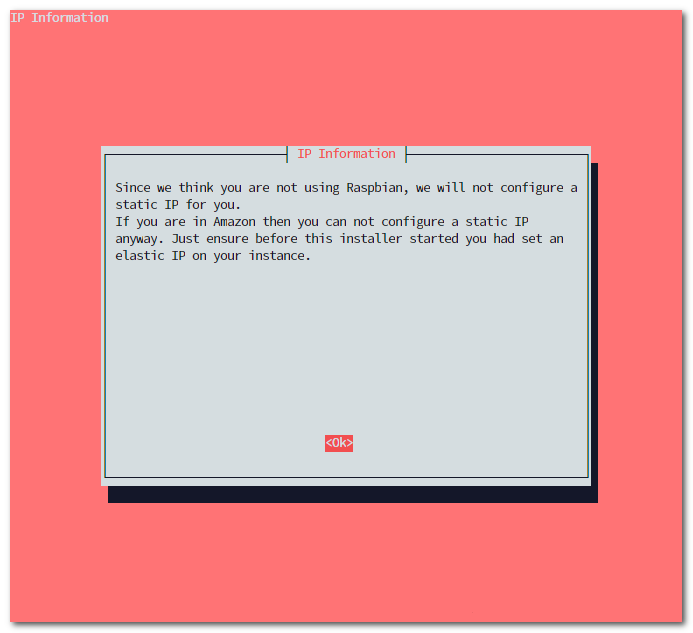
저는 Raspbian을 사용중이지 않기 때문에 고정 IP 설정을 건너뛴다고 알려줍니다.
Amazon EC2나 Lightsail 등을 사용하는 경우 사전에 고정 IP를 할당하는 것이 좋습니다.
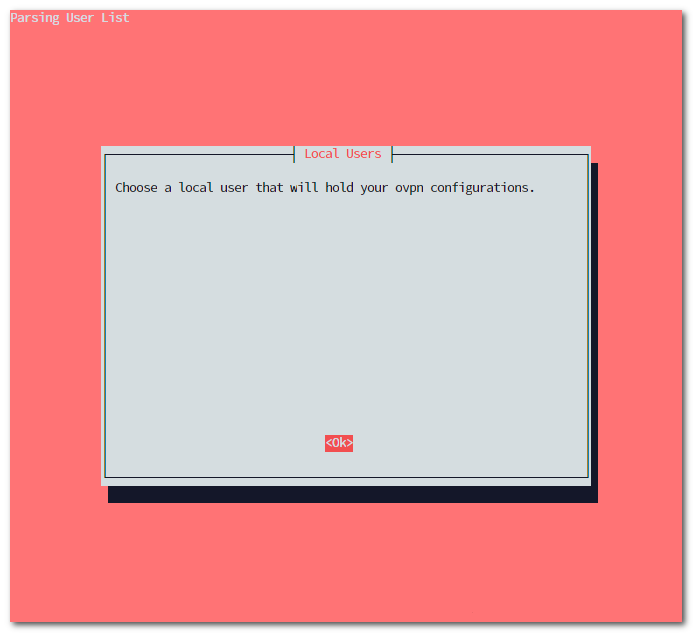
ovpn 파일을 보관할 사용자를 선택하게 됩니다.
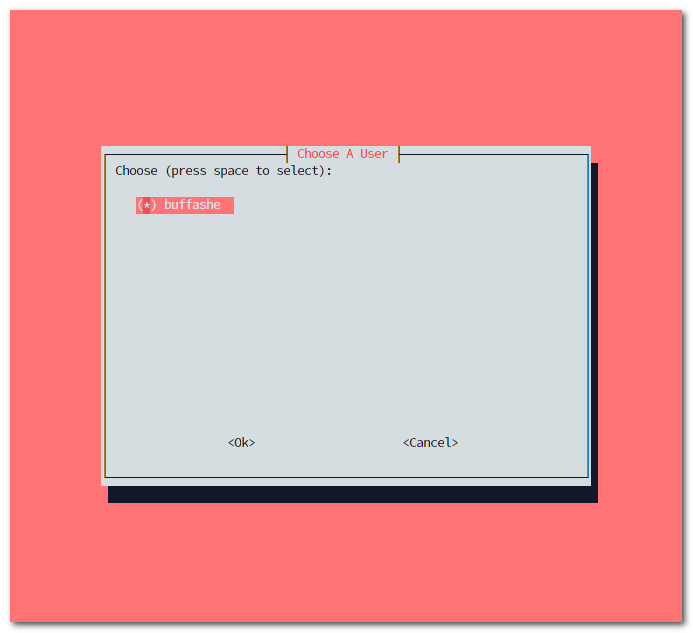
원하는 사용자를 Space로 선택합니다. (‘*‘가 표시됨)

OpenVPN을 선택합니다.
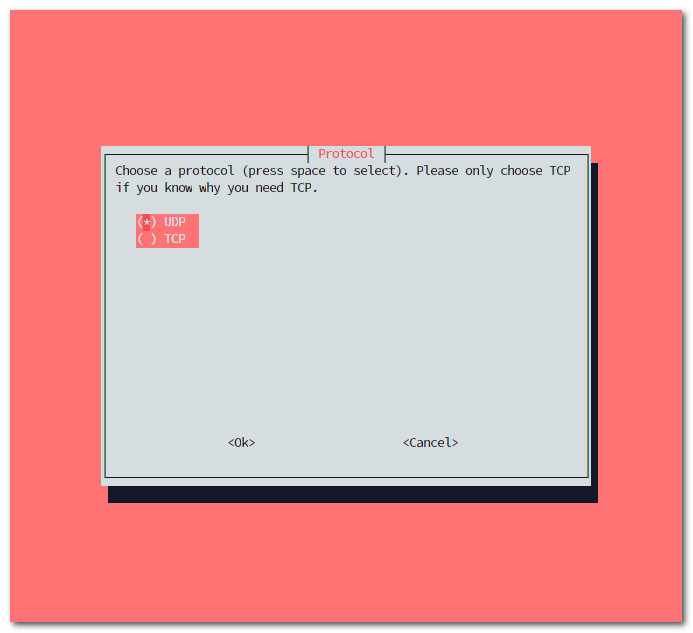
사용할 프로토콜을 선택합니다.
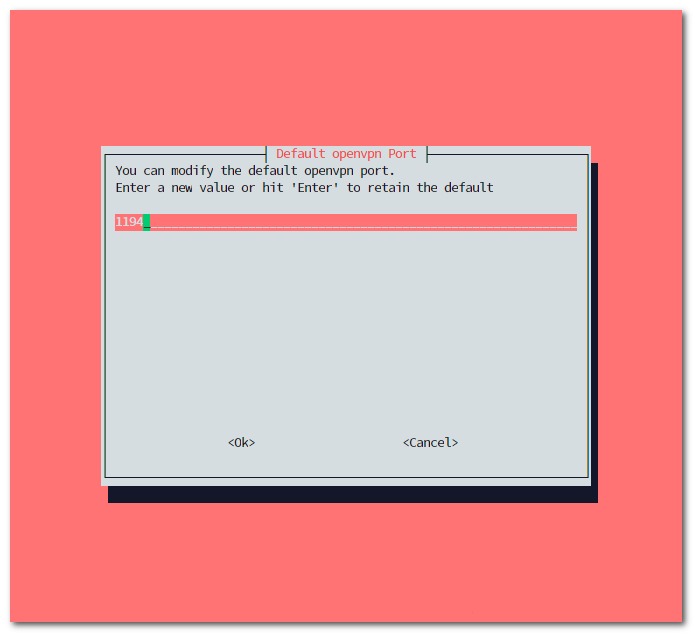
OpenVPN의 UDP 기본 포트인 1194를 사용합니다.
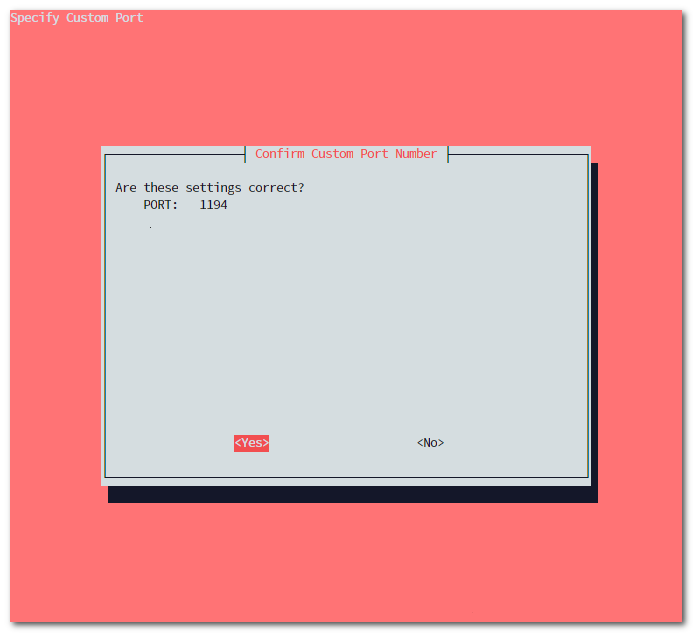
설정이 맞는지 확인합니다.
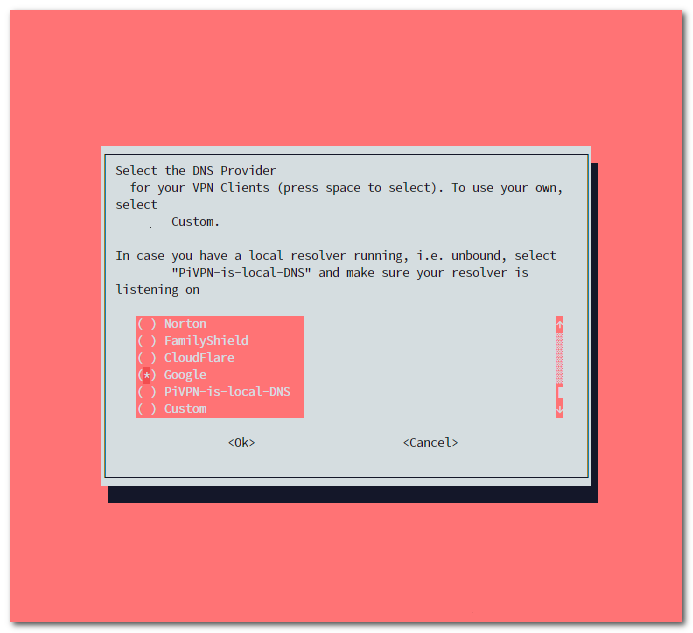
사용할 DNS 제공자를 선택합니다.
Google DNS를 선택하였습니다. (8.8.8.8, 8.8.4.4)
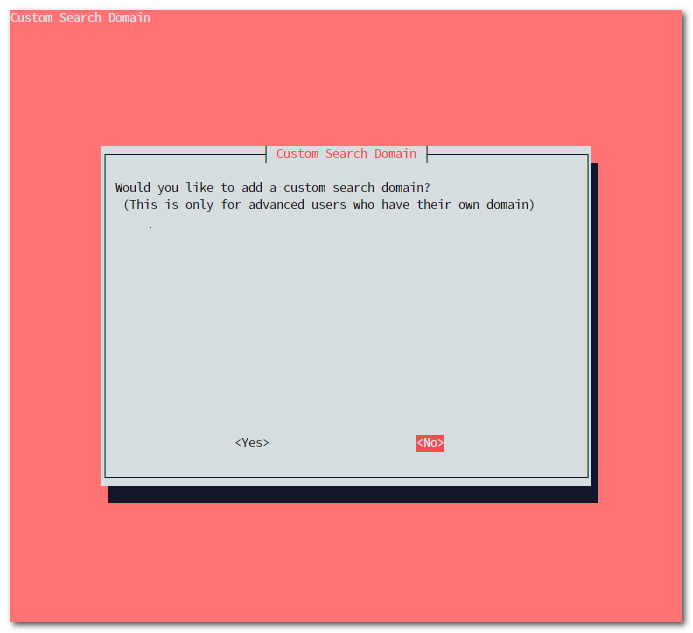
서치 도메인은 추가하지 않습니다.
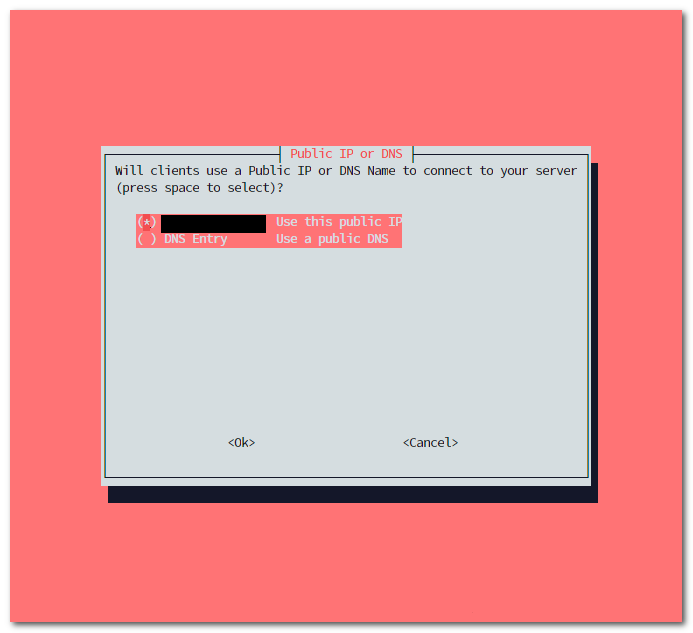
ovpn 파일에 지정될 IP 주소 또는 DNS 이름을 선택합니다. 공인 IP를 자동으로 받아와 표시합니다.
도메인을 보유한 사용자는 DNS Entry 옵션을 선택하시면 됩니다. (vpn.buffashe.com 등)
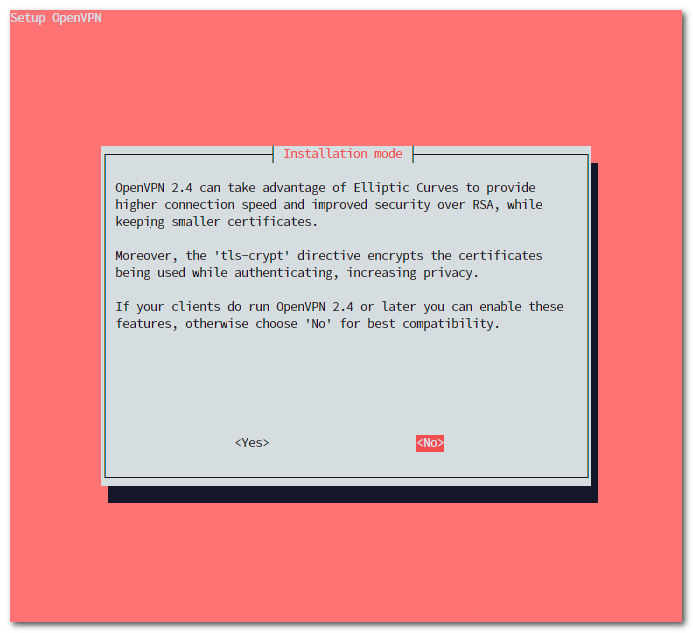
OpenVPN 2.4부터 추가된 ECC 옵션의 사용 여부를 물어봅니다.
이 옵션이 활성화된 경우 iPhone 클라이언트에서 접속이 불가하여 사용하지 않겠습니다.
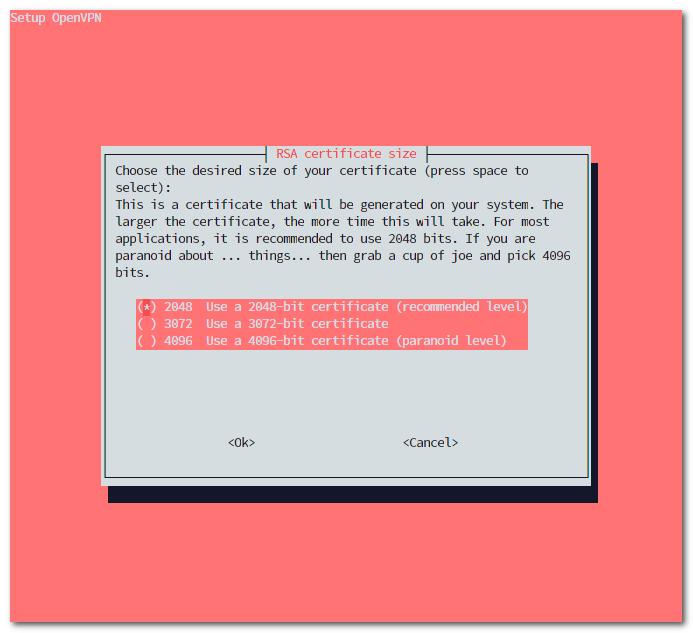
RSA 인증서의 크기를 설정합니다. 기본 옵션인 2048비트로 설정하였습니다.
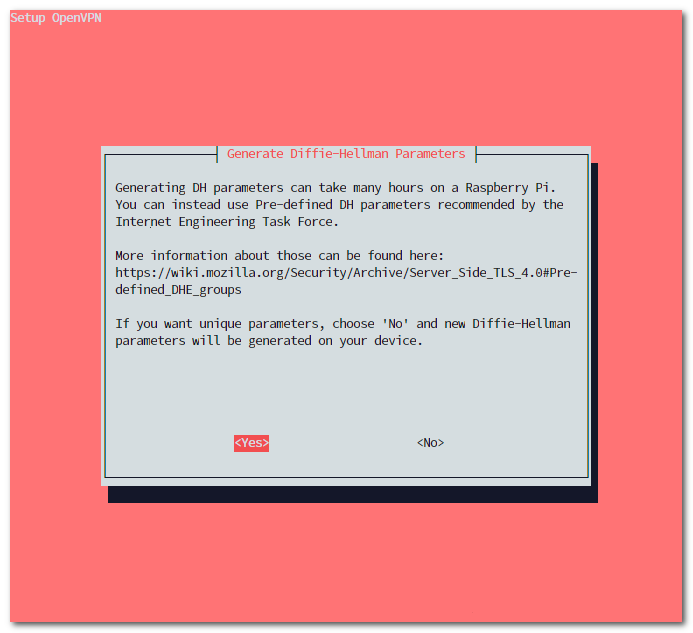
사전에 정의된 DHE 그룹의 사용 여부를 선택합니다. IETF에서 권장하는 방법이기 때문에 사용하겠습니다.
Pre-defined DHE groups
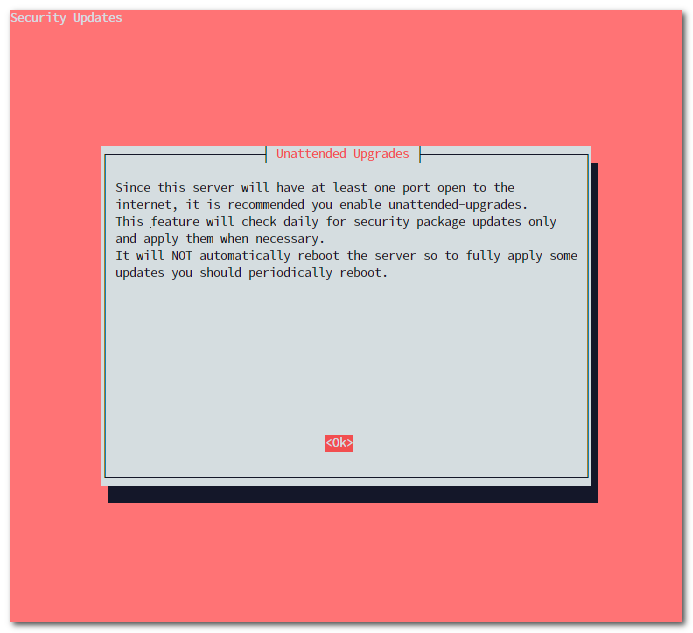
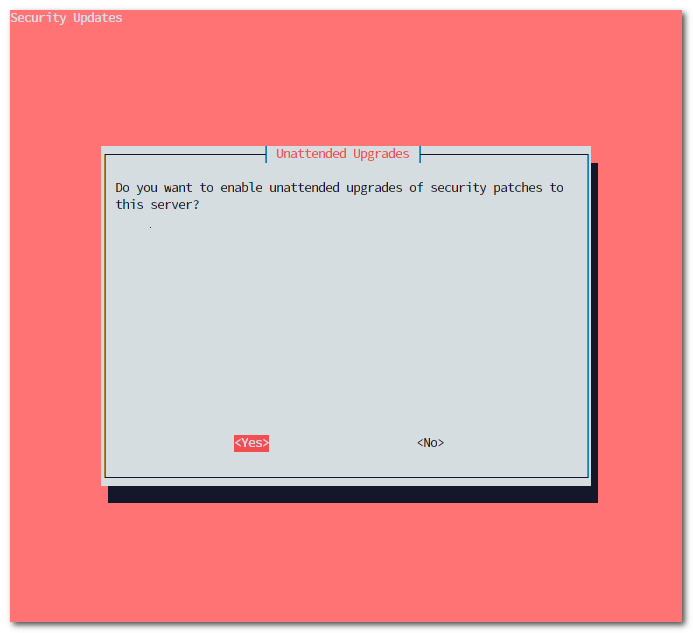
unattended-upgrades를 활성화합니다. 자동으로 보안 업데이트를 확인하고 설치하게 됩니다. 주기적인 서버 재시작이 권장됩니다.
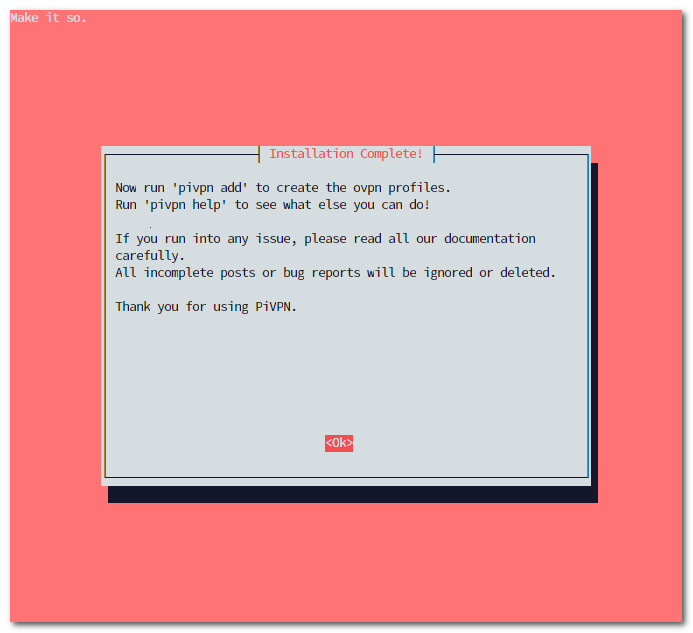
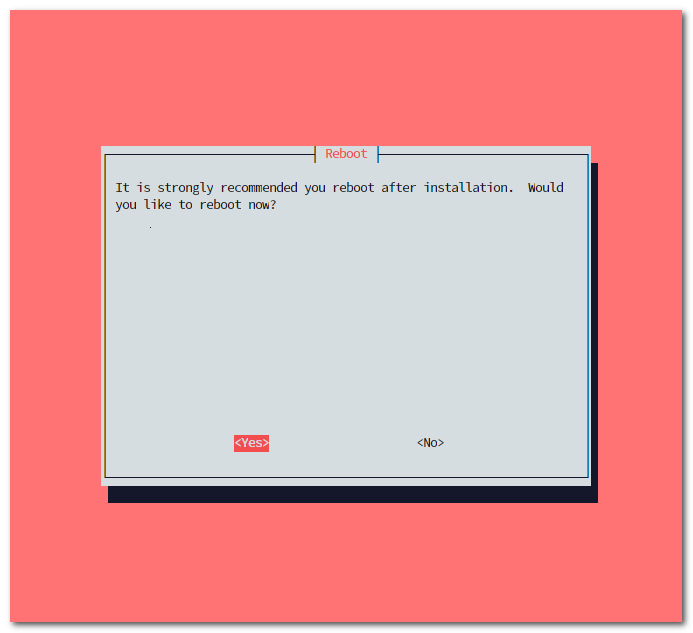
설치가 완료되었습니다. <Yes>를 선택하여 서버를 재시작합니다.
PiVPN 기본 명령어
$ pivpn
::: Control all PiVPN specific functions!
:::
::: Usage: pivpn <command> [option]
:::
::: Commands:
:::  -a, add [nopass]     Create a client ovpn profile, optional nopass
:::  -c, clients          List any connected clients to the server
:::  -d, debug            Start a debugging session if having trouble
:::  -l, list             List all valid and revoked certificates
:::  -r, revoke           Revoke a client ovpn profile
:::  -h, help             Show this help dialog
:::  -u, uninstall        Uninstall PiVPN from your system!
:::  -up, update          Updates PiVPN Scripts
:::  -bk, backup          Backup Openvpn and ovpns dir
-a: 클라이언트 추가; nopass 옵션을 사용하면 비밀번호 없이 접속 가능
-c: 현재 접속된 클라이언트 목록
-d: 디버깅 세션 시작
-l: 생성된 클라이언트 인증서(*.ovpn)의 목록 (revoke된 인증서도 포함)
-r: 클라이언트 인증서 제거 (접속 권한 제거)
-h: 도움말 페이지
-u: PiVPN 제거
-up: PiVPN 업데이트
-bk: OpenVPN, ovpns(클라이언트 인증서) 디렉토리 백업
클라이언트 추가
$ pivpn -a
Enter a Name for the Client:  buffashe-iPhone
How many days should the certificate last?  1080
Enter the password for the client:
Enter the password again to verify:
클라이언트의 이름, 인증서 유효기간, 비밀번호를 입력합니다.
========================================================
Done! buffashe-iPhone.ovpn successfully created!
buffashe-iPhone.ovpn was copied to:
  /home/buffashe/ovpns
for easy transfer. Please use this profile only on one
device and create additional profiles for other devices.
========================================================
/home/buffashe/ovpns 디렉토리에 ovpn 파일이 생성됩니다.
~/ovpns$ ls -la
total 16
drwxr-x--- 2 buffashe buffashe 4096 Feb 12 15:20 .
drwxr-xr-x 6 buffashe buffashe 4096 Feb 12 15:14 ..
-rw-r----- 1 buffashe buffashe 5226 Feb 12 15:20 buffashe-iPhone.ovpn
생성된 ovpn 파일을 사용하여 서버에 연결하면 됩니다.